Posts

Showing posts from June, 2024

Project Three Conclusion

Image
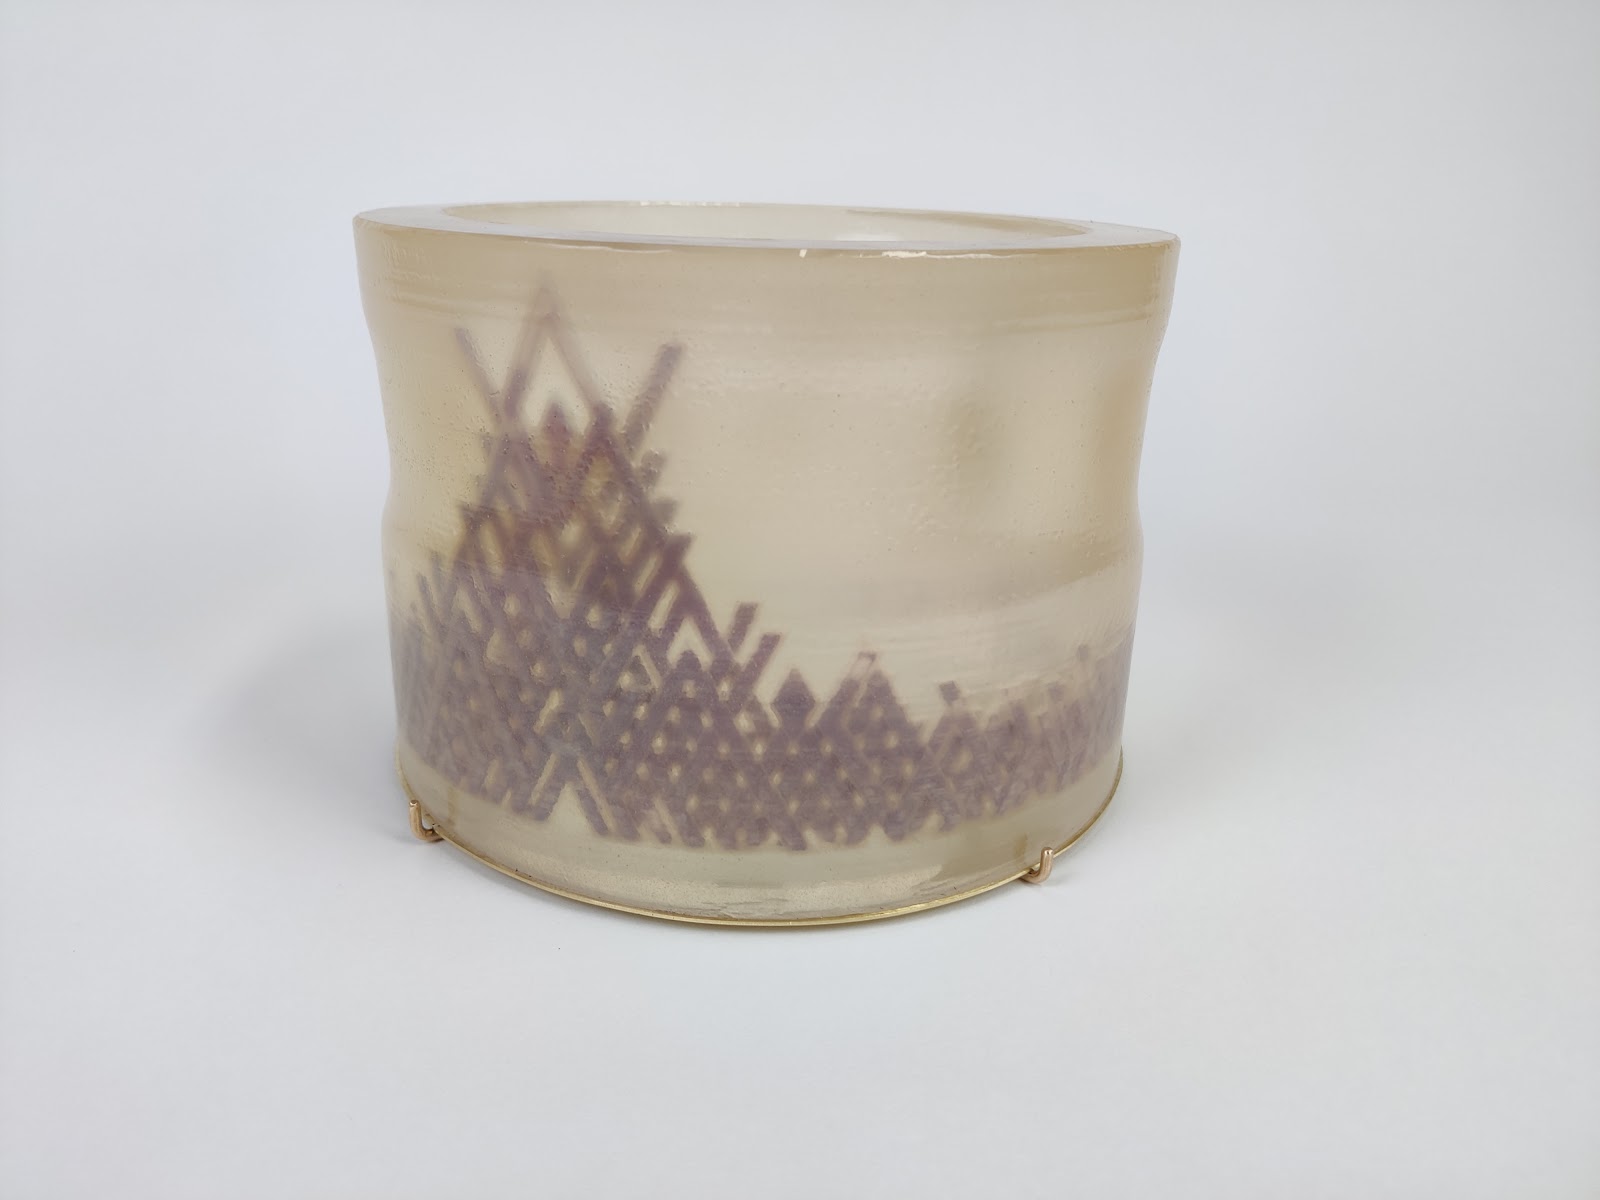
      The finished piece didn't quite turn out as I was expecting or hoping, but I've learned a lot along the way in terms of process and materials. I certainly intend to take this concept further and develop more work based in this project.  Link to full presentation here Link to all photo and video documentation here         This project taught me a lot, both through mistakes, as well as discoveries. I learned that the resin I used wasn't as clear as I had thought it would be, has a yellow tint, heated up more than I expected while it was curing, and should be cured at smaller layers. I learned that even with all my testing, there were still problems with tiny holes in the 3D print's walls, leading to leaking fluids. But I also learned that the clear PLA I used was more than strong enough and also clear enough, to capture the essence of my concept. Overall, I'm happy with the outcome, both aesthetically, and in what I learned along the way. ...

Fabrication Progress

Image
      Over the last two weeks I've done a few test prints to get an idea of how to make sure the tiara prints properly. I created a small object using the same lattice parts of the tiara in order to have a quick to print example of how the tiara might print.                         I tweaked a variety of settings for getting the best results. I tested different sized nozzles, 0.4mm, 0.6mm, and 0.8mm. I tested different numbers of perimeters, as well as the number of top and bottom layers. I also played with the top and bottom fill patterns, layer height, print speed, and filament flow rates. All tests were done with 0% infill, since I needed the print to be completely hollow in order to fill the inside with fluid pigment.     In my testing, I found that the best settings were printing at a temperature 200 Celsius using a 0.4mm nozzle at a 0.2mm layer height, with 2 perimeters, and 5 top l...

Project Three Render

Image
      It took me some time to figure out how to render my object properly, because I wanted to make sure that the contour lines of the 3D print were visible. At first, I wasn't able to find a material that looked like what I wanted, so I had initially tried emulating the contours by taking a set of contour curves from the tiara, spaced 1mm apart, fillet the corners of those curves and then apply 1mm pipes to them all, but this method was far too heavy on the computer. When I first applied it, I mindlessly applied the pipe command to all 1811 contour curves, freezing Rhino for so long, that I had to force quit the program. I retried by only applying the pipes to a few layers of contours at a time. The pipes didn't apply properly to all the curves, and I had to remove a handful of them. After this, I applied a translucent plastic material to the pipes, but this didn't look the way I wanted it to look.                   ...

Project Two Conclusion

Image
 The final piece took a bit of work, but I'm ultimately happy with how it looks. Using a series of small parts derived from rhomboid shapes seen in the rainbow lattice sunstone, I assembled the tiara, carefully composing the shapes, the overlaps, and visual depth. Presentation for project two  here .     The pre-final version, though carefully constructed, I decided was too delicate to try and print with a hollow interior, I had constructed it from 2mm x 2mm prisms. But this helped me better understand the visual language I was developing, and informed the final version.     The final version, using 4mm x 4mm prisms, proved a bit trickier to emulate the same level of detail the previous version had, but I figured it out in the end.       I started with 270 degree arc that measured 160mm in diameter, extruded perpendicular to it's plane, and used Unroll to create a plane I could use as a template for the patter. On that flat plane, I asse...